Hãy cùng Nam tham khảo guideline hướng dẫn và làm theo từng bước của bài viết này, từ đó phát triển ra phần Mega Menu vô cùng quan trọng và hữu ích đối với Block Themes nhé
Nam khá thích cách thức tiếp cận của bài viết này, vì nó đáp ứng tiêu chí "tái sử dụng" khi xây dựng một Website Wordpress theo chuẩn Block Themes
Để Dev các plugins Wordpress ta cần tạo một môi trường phát triển cơ bản bằng Docker, bài này Nam đã có sưu tầm, bạn có thể tham khảo tại đây, sau khi setup cơ bản xong bạn hãy tạo 1 vùng làm việc để tạo Block Plugin theo ý muốn
npx @wordpress/create-block@latest mega-menu-block --variant=dynamic --wp-env
cd mega-menu-block
Từ đây thì ta sẽ thấy một Boiler Plate của Block Plugins đã được xây dựng và đây là Dynamic Block
Mấu chốt là ta cần xây dựng khu vực hiển thị template parts riêng (nơi chọn Mega Menu) , và hàm dưới đây sẽ thực hiện điều đó. Truy cập vào file quản lý plugins (PHP) để kích hoạt khu vực Mega Menu Block
/**
 * Adds a custom template part area for mega menus to the list of template part areas.
 *
 * @param array $areas Existing array of template part areas.
 * @return array Modified array of template part areas including the new "Menu" area.
 */
function outermost_mega_menu_template_part_areas( array $areas ) {
	$areas[] = array(
		'area'        => 'menu',
		'area_tag'    => 'div',
		'description' => __( 'Menu templates are used to create sections of a mega menu.', 'mega-menu-block' ),
		'icon'        => '',
		'label'       => __( 'Menu', 'mega-menu-block' ),
	);

	return $areas;
}
add_filter( 'default_wp_template_part_areas', 'outermost_mega_menu_template_part_areas' );
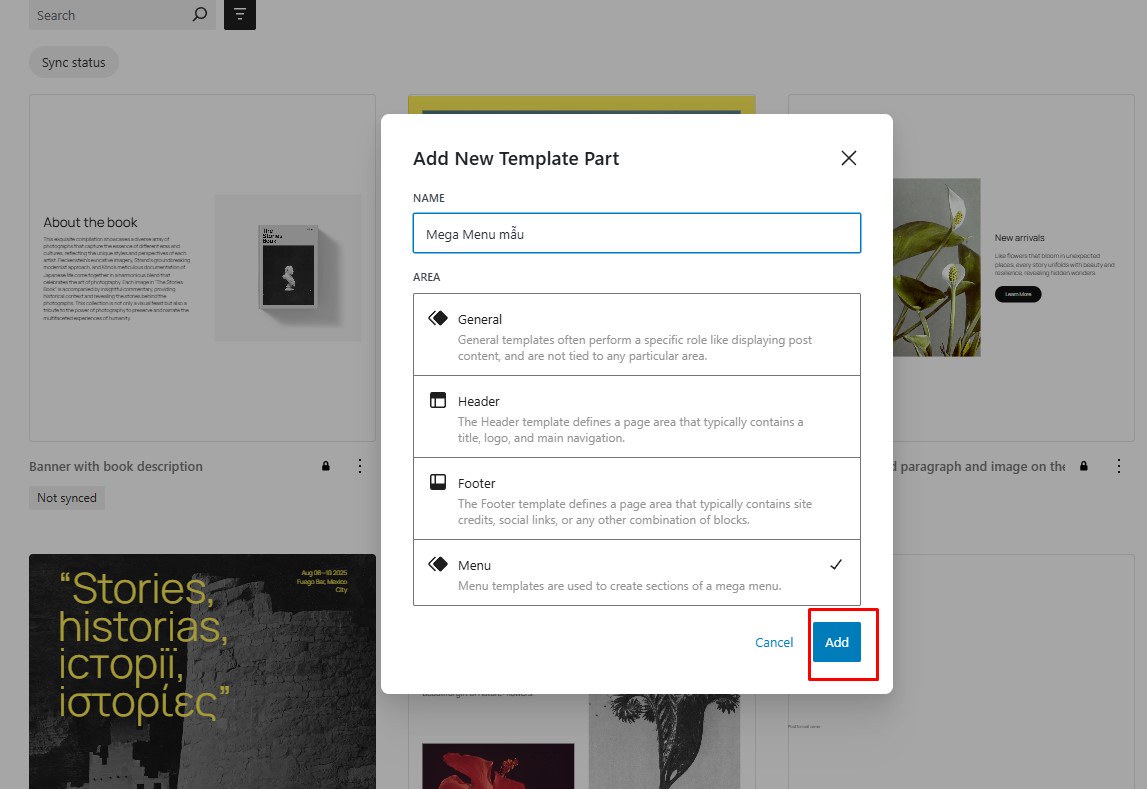
Lúc này ta khởi chạy thử môi trường để kiểm tra nhé, như ở mẫu thì khi tạo Template Parts (Truy cập vào Patterns - tạo Template Parts mới) sẽ hiện ra khu vực Menu
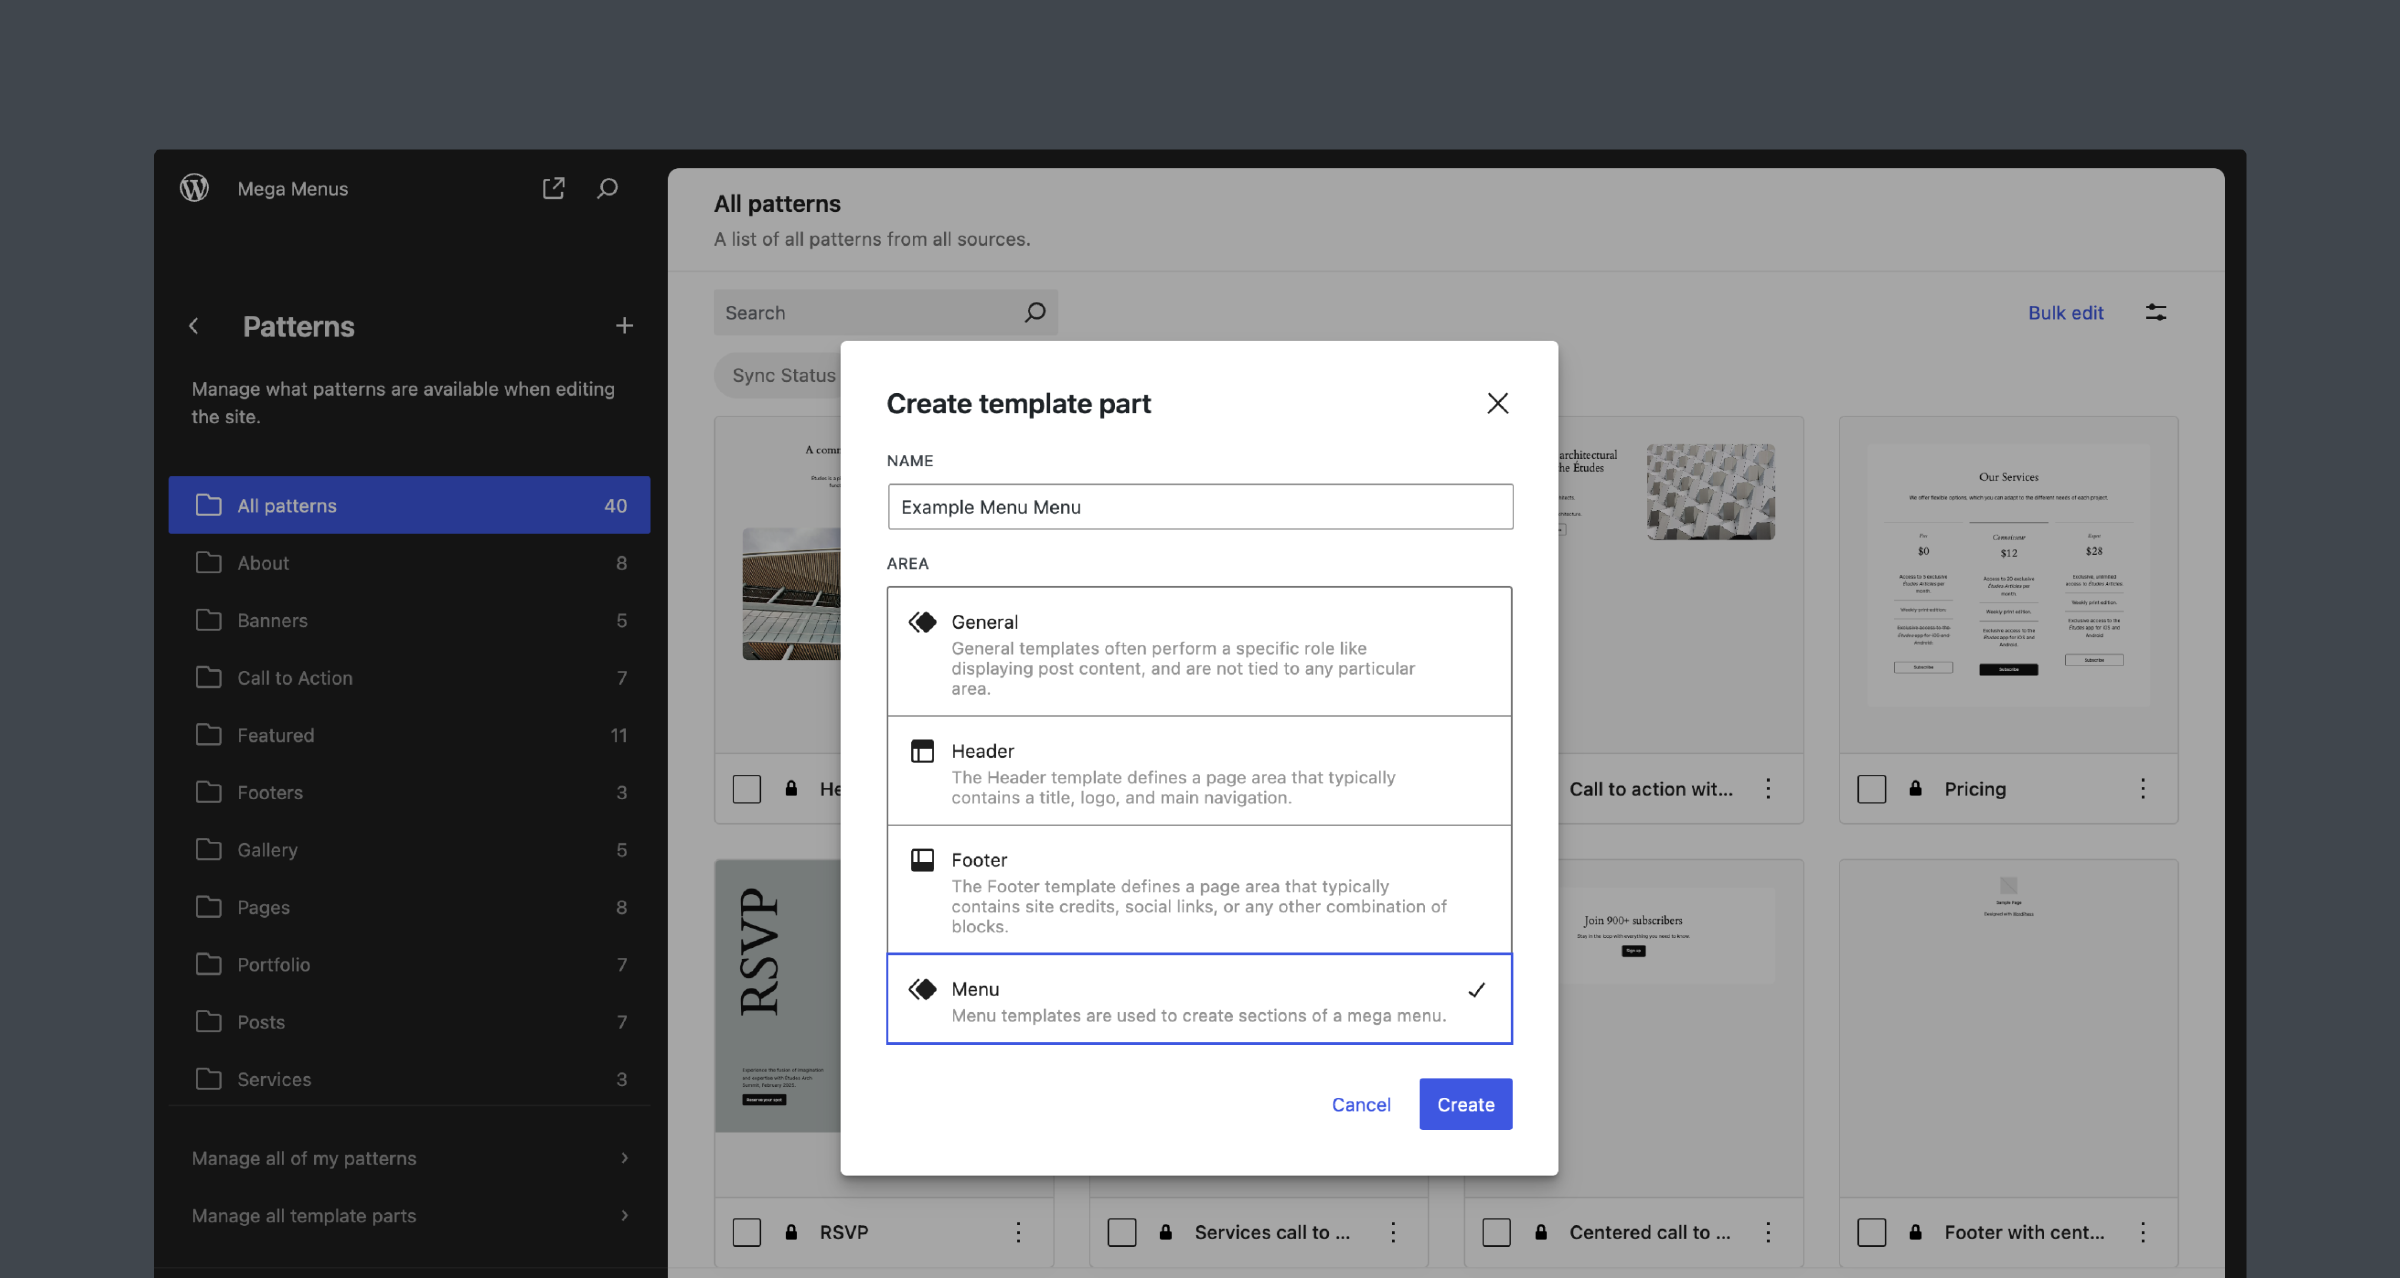
Tôi đã tạo ra khu vực Mega Menu và dùng 1 template bất kỳ như ở hướng dẫn
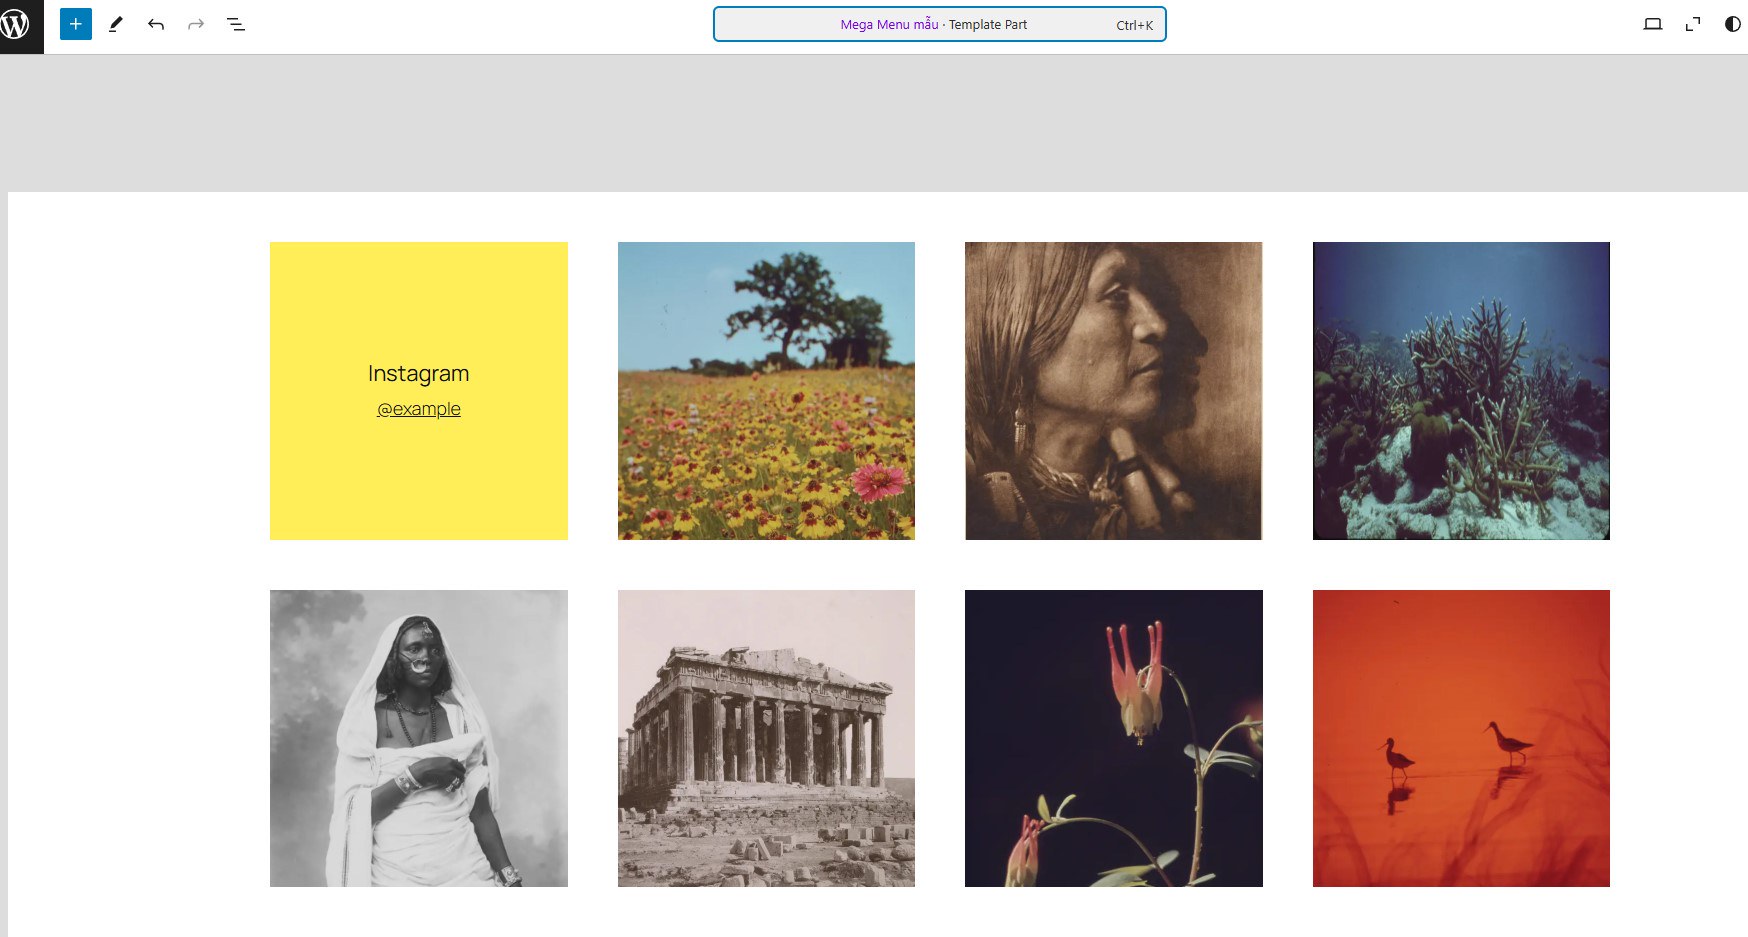
Khi add 1 ảnh bất kỳ là lúc chúng ta bắt đầu thực hiện xử lý và đưa dữ liệu đó tới khối core/navigation một cách phù hợp
Ổn rồi đó, giờ ta sẽ gọi kiểu Template Parts này và áp dụng nó vào khối Core/Navigation
Ở môi trường Dev Plugins Wordpress, add dữ liệu sau vào index.js (Chủ yếu ta sẽ làm việc ngay bên trong thư mục index.js nhé)
import { addFilter } from '@wordpress/hooks';Tiếp đó, ta sẽ viết hàm sau, để đẩy cho phép core/navigation hiển thị cả Block mới tạo của chúng ta create-block/mega-menu-block
/**
 * Make the Mega Menu Block available to Navigation blocks.
 *
 * @param {Object} blockSettings The original settings of the block.
 * @param {string} blockName     The name of the block being modified.
 * @return {Object} The modified settings for the Navigation block or the original settings for other blocks.
 */
const addToNavigation = ( blockSettings, blockName ) => {
	if ( blockName === 'core/navigation' ) {
		return {
			...blockSettings,
			allowedBlocks: [
				...( blockSettings.allowedBlocks ?? [] ),
				'create-block/mega-menu-block',
			],
		};
	}
	return blockSettings;
};
addFilter(
	'blocks.registerBlockType',
	'add-mega-menu-block-to-navigation',
	addToNavigation
);
Đoạn này Nam thấy thật tuyệt vời, vì đây đúng là hàm Nam đang tìm kiếm, việc xây dựng allowedBlocks sẽ cho phép ta mở rộng được nhiều Block hơn có thể đưa vào Navigation Block (Hiện tại vẫn còn khá hữu hạn), đoạn này ta Add thêm vào hàm index.js (nó sẽ gọi đến hàm Edit (edit.js) luôn đó).
Quả nhiên mình vào test thì ở khu vực chọn thành phần Menu trong Core/navigation đúng là đã chọn được Block Mega Menu cơ bản
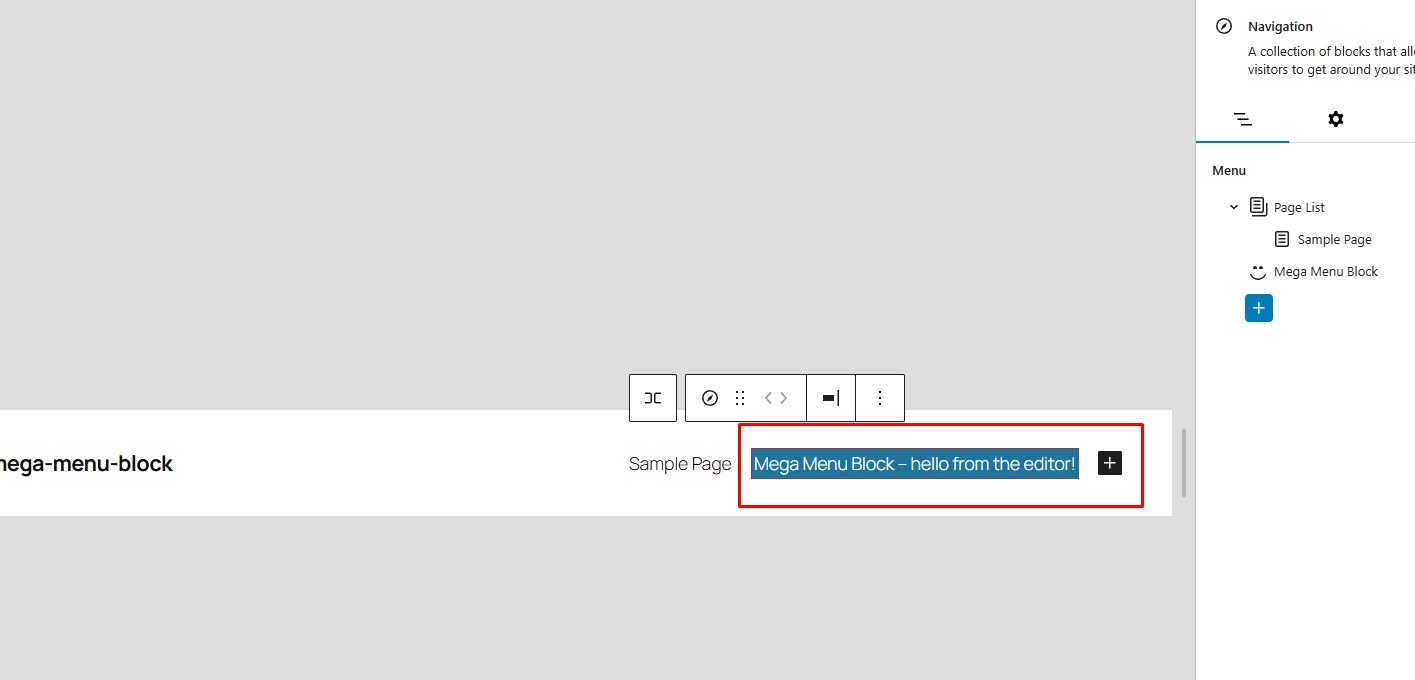
Ở phần tinh chỉnh, ta cần xây dựng cầu nối giữa Mega Menu Block và các Template Parts thuộc mục Menu mới tạo ở đầu, trong file edit.js ta xử lý như sau
// Fetch all template parts.
const { hasResolved, records } = useEntityRecords(
	'postType',
	'wp_template_part',
	{ per_page: -1 }
);

let menuOptions = [];

// Filter the template parts for those in the 'menu' area.
if ( hasResolved ) {
	menuOptions = records
		.filter( ( item ) => item.area === 'menu' )
		.map( ( item ) => ( {
			label: item.title.rendered, // Title of the template part.
			value: item.slug,           // Template part slug.
		} ) );
}
Hiển thị mọi giá trị wp_template_part thuộc lĩnh vực menu và gọi ra 2 thành phần
Ta sẽ lấy được mọi bản ghi (đầy đủ) khi để per_page là -1 (Điều này mình mới biết luôn ^^!), nên nhớ hãy gọi hàm này trước sau đó mới đến hàm return nhé
{
	"$schema": "https://schemas.wp.org/trunk/block.json",
	"apiVersion": 3,
	"name": "create-block/mega-menu-block",
	"version": "0.1.0",
	"title": "Mega Menu",
	"category": "design",
	"description": "Add a mega menu to your navigation.",
	"parent": [ "core/navigation" ],
	"example": {},
	"attributes": {
		"label": {
			"type": "string"
		},
		"menuSlug": {
			"type": "string"
		}
	},
	"supports": {
		"html": false,
		"typography": {
			"fontSize": true,
			"lineHeight": true,
			"__experimentalFontFamily": true,
			"__experimentalFontWeight": true,
			"__experimentalFontStyle": true,
			"__experimentalTextTransform": true,
			"__experimentalTextDecoration": true,
			"__experimentalLetterSpacing": true,
			"__experimentalDefaultControls": {
				"fontSize": true
			}
		}
	},
	"textdomain": "mega-menu-block",
	"editorScript": "file:./index.js",
	"editorStyle": "file:./index.css",
	"style": "file:./style-index.css",
	"render": "file:./render.php",
	"viewScript": "file:./view.js"
}
Trên đây ta sẽ định nghĩa Block có 2 thuộc tính chính là label và menuSlug
Settings Panel trong Mega Menu Block sẽ giúp ta gọi các thành phần template parts ra (truyền dữ liệu từ menuOptions vào khu vực giao diện soạn thảo mong muốn
export default function Edit({ attributes, setAttributes }) {
    // Fetch all template parts.
    const { hasResolved, records } = useEntityRecords(
        'postType',
        'wp_template_part',
        { per_page: -1 }
    );

    let menuOptions = [];

    // Filter the template parts for those in the 'menu' area.
    if (hasResolved) {
        menuOptions = records
            .filter((item) => item.area === 'menu')
            .map((item) => ({
                label: item.title.rendered, // Title of the template part.
                value: item.slug,           // Template part slug.
            }));
    }

    const { label, menuSlug } = attributes;

    return (
        <>
            <InspectorControls>
                <PanelBody
                    title={__('Settings', 'mega-menu-block')}
                    initialOpen={true}
                >
                    <TextControl
                        label={__('Label', 'mega-menu-block')}
                        type="text"
                        value={label}
                        onChange={(value) =>
                            setAttributes({ label: value })
                        }
                        autoComplete="off"
                    />
                    <ComboboxControl
                        label={__('Menu Template', 'mega-menu-block')}
                        value={menuSlug}
                        options={menuOptions}
                        onChange={(slugValue) =>
                            setAttributes({ menuSlug: slugValue })
                        }
                    />
                </PanelBody>
            </InspectorControls>
            <div {...useBlockProps()}>
                <a className="wp-block-navigation-item__content">
                    <RichText
                        identifier="label"
                        className="wp-block-navigation-item__label"
                        value={label}
                        onChange={(labelValue) =>
                            setAttributes({
                                label: labelValue,
                            })
                        }
                        aria-label={__(
                            'Mega menu link text',
                            'mega-menu-block'
                        )}
                        placeholder={__('Add label…', 'mega-menu-block')}
                        allowedFormats={[
                            'core/bold',
                            'core/italic',
                            'core/image',
                            'core/strikethrough',
                        ]}
                    />
                </a>
            </div>
        </>
    );
}Ở hàm Render.php thì khi lựa chọn template part thì menu sẽ được hiển thị dạng sau
<?php
$label       = esc_html( $attributes['label'] ?? '' );
$menu_slug   = esc_attr( $attributes['menuSlug'] ?? '');
$close_icon  = '<svg xmlns="http://www.w3.org/2000/svg" viewBox="0 0 24 24" width="20" height="20" aria-hidden="true" focusable="false"><path d="M13 11.8l6.1-6.3-1-1-6.1 6.2-6.1-6.2-1 1 6.1 6.3-6.5 6.7 1 1 6.5-6.6 6.5 6.6 1-1z"></path></svg>';

// Don't display the mega menu link if there is no label or no menu slug.
if ( ! $label || ! $menu_slug ) {
	return null;
}
?>
<li <?php echo get_block_wrapper_attributes(); ?>>
	<button><?php echo $label; ?></button>
	<div class="wp-block-create-block-mega-menu-block__menu-container">
		<?php echo block_template_part( $menu_slug ); ?>
		<button
			aria-label="<?php echo __( 'Close menu', 'mega-menu' ); ?>"
			class="menu-container__close-button"
			type="button"
		>
			<?php echo $close_icon; ?>
		</button>
	</div>
</li>
Đoạn này sẽ render ra html markup và thể hiện block_template_part có $menu_slug là đường dẫn của template đã tạo. Bổ sung thêm nút close menu để tắt mega menu đi
Đoạn này Nam thấy khá rối rắm, nhưng để thực hiện hiệu ứng đóng mở Mega Menu thì ta cần dựa vào API này, nó sẽ trải qua 3 bướ chính
Thay đổi hàm package.json giá trị phù hợp
"scripts": {
	"build": "wp-scripts build --webpack-copy-php --experimental-modules",
	"format": "wp-scripts format",
	"lint:css": "wp-scripts lint-style",
	"lint:js": "wp-scripts lint-js",
	"lint:js:src": "wp-scripts lint-js ./src --fix",
	"packages-update": "wp-scripts packages-update",
	"plugin-zip": "wp-scripts plugin-zip",
	"start": "wp-scripts start --webpack-copy-php --experimental-modules",
	"env": "wp-env"
},
Trong block.son thì đổi viewScript thành viewScriptModule
	"editorScript": "file:./index.js",
	"editorStyle": "file:./index.css",
	"style": "file:./style-index.css",
	"render": "file:./render.php",
	"viewScriptModule": "file:./view.js"
}
Restart lại quá trình build bằng lệnh npm run start, đoạn này ở các bài phát triển Plugins thì mình sẽ nắm được thôi. chưa kể hãy bổ sung vào block.json tính năng interactivity:true
"supports": {
	"html": false,
	"interactivity": true,
	"typography": {
		...
	}
},Lúc này thì ở render sẽ chạy được 1 số markup quan trọng như
Đoạn này cũng hơi giống ông alpine.js nhỉ :D
Hàm render.php đầy đủ sẽ có dạng như sau
<li
	<?php echo get_block_wrapper_attributes(); ?>
	data-wp-interactive="create-block/mega-menu-block"
	data-wp-context='{ "isMenuOpen": false }'
>
	<button
		data-wp-on--click="actions.toggleMenu"
		data-wp-bind--aria-expanded="context.isMenuOpen"
	>
		<?php echo $label; ?>
	</button>
	<div class="wp-block-create-block-mega-menu-block__menu-container">
		<?php echo block_template_part( $menu_slug ); ?>
		<button
			aria-label="<?php echo __( 'Close menu', 'mega-menu' ); ?>"
			class="menu-container__close-button"
			type="button"
			data-wp-on--click="actions.closeMenu"
		>
			<?php echo $close_icon; ?>
		</button>
	</div>
</li>
Đoạn này sẽ gọi ra thành phần navigation, kèm theo đó là nút bấm tắt cùng template-parts mong muốn.
Đoạn này là khái niệm khá mới, dù rất lười nhưng Nam vẫn cố gắng viết tiếp, phần chỉ thị cần được lưu vào vì dù có định nghĩa mà khi save không lưu vào đâu thì cũng không hiểu được. Ở hàm view.js sẽ có dạng như sau
/**
 * WordPress dependencies
 */
import { store, getContext } from '@wordpress/interactivity';

const { actions } = store( 'create-block/mega-menu-block', {
	actions: {
		toggleMenu() {
			const context = getContext();

			if ( context.isMenuOpen ) {
				actions.closeMenu();
			} else {
				context.isMenuOpen = true;
			}
		},
		closeMenu() {
            			const context = getContext();
			context.isMenuOpen = false;
		},
	}
} );
Đoạn này cơ bản là sẽ thực hiện lưu chuỗi hành động và xác định logic, sẽ toggleMenu nếu context.isMenuOpen thì hành động sẽ là tắt và ngược lại, từ 2 hàm này sẽ xử lý tiếp và nhắc nhớ cho render.php
Bổ sung vào đoạn style.scss để được phần Mega Menu mong muốn
.wp-block-create-block-mega-menu-block {

	// Reset button styles.
	button {
		background-color: initial;
		border: none;
		color: currentColor;
		cursor: pointer;
		font-family: inherit;
		font-size: inherit;
		font-style: inherit;
		font-weight: inherit;
		line-height: inherit;
		padding: 0;
		text-transform: inherit;
	}

	.wp-block-create-block-mega-menu-block__menu-container {
		height: auto;
		right: 0;
		opacity: 0;
		overflow: hidden;
		position: absolute;
		top: 40px;
		transition: opacity .1s linear;
		visibility: hidden;
		width: var(--wp--style--global--wide-size);
		z-index: 2;

		.menu-container__close-button {
			align-items: center;
			-webkit-backdrop-filter: blur(16px) saturate(180%);
			backdrop-filter: blur(16px) saturate(180%);
			background-color: #ffffffba;
			border: none;
			border-radius: 999px;
			cursor: pointer;
			display: flex;
			justify-content: center;
			opacity: 0;
			padding: 4px;
			position: absolute;
			right: 12px;
			text-align: center;
			top: 12px;
			transition: opacity .2s ease;
			z-index: 100;

			// Show the close button when focused (for keyboard navigation)
			&:focus {
				opacity: 1;
			}
		}

		// Show the close button when the mega menu is hovered.
		&:hover {
			.menu-container__close-button {
				opacity: 1;
			}
		}
	}

// Show the mega menu when aria-expanded is true.
	button[aria-expanded=true] {
		&~.wp-block-create-block-mega-menu-block__menu-container {
			opacity: 1;
			overflow: visible;
			visibility: visible;
		}
	}
}
Hết rồi, Tutorial còn 1 số đoạn về tinh chỉnh Frontend, nhưng với Nam thì thế này là chạy được rồi
Xin cảm ơn